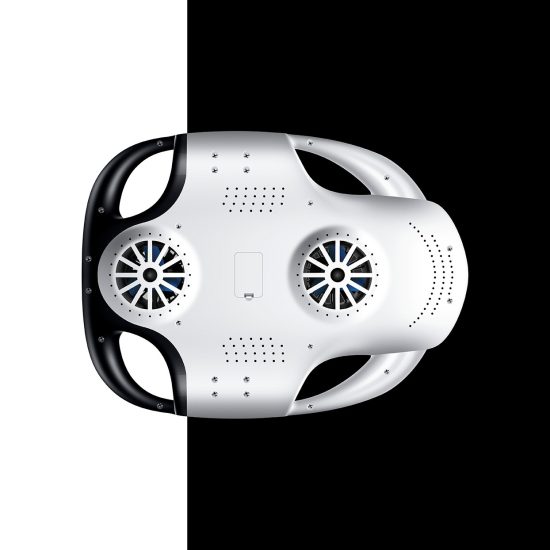



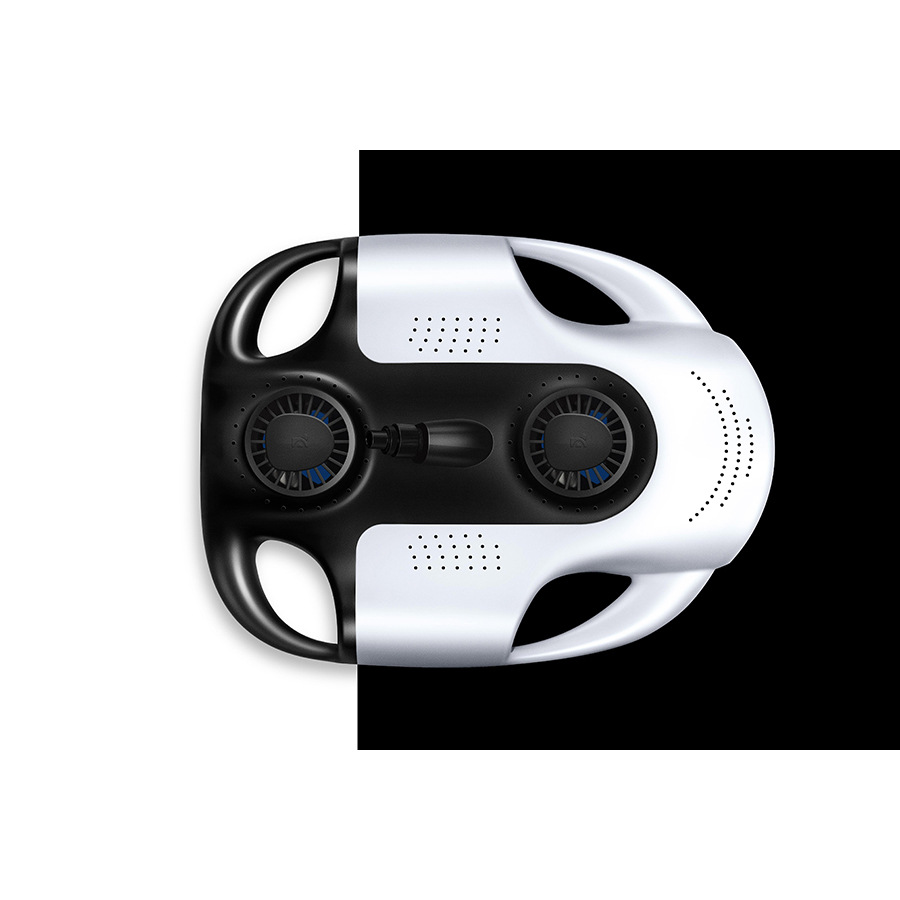

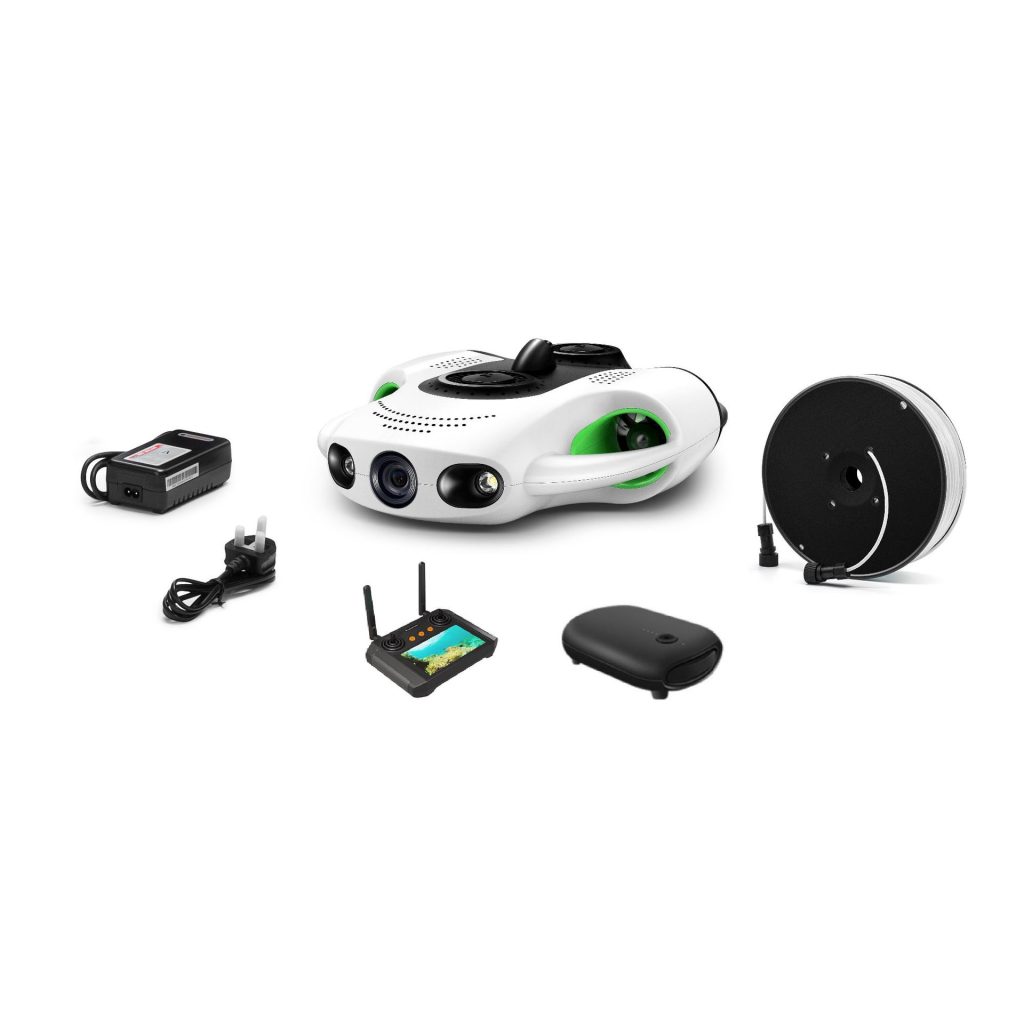
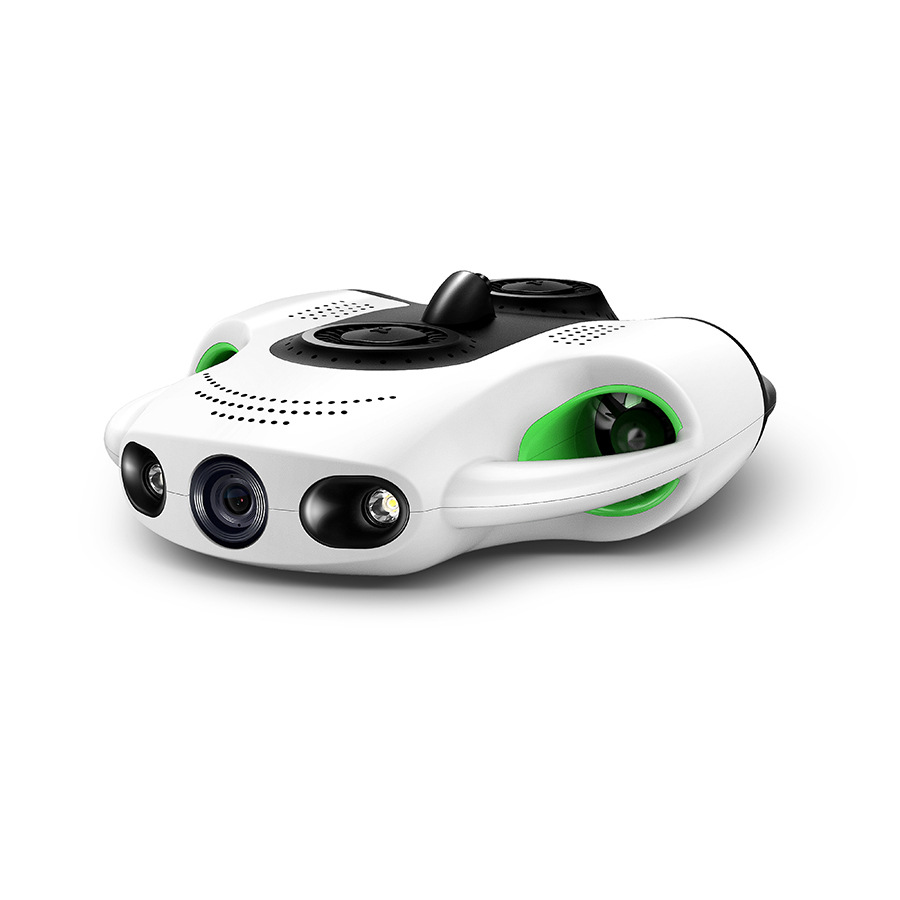
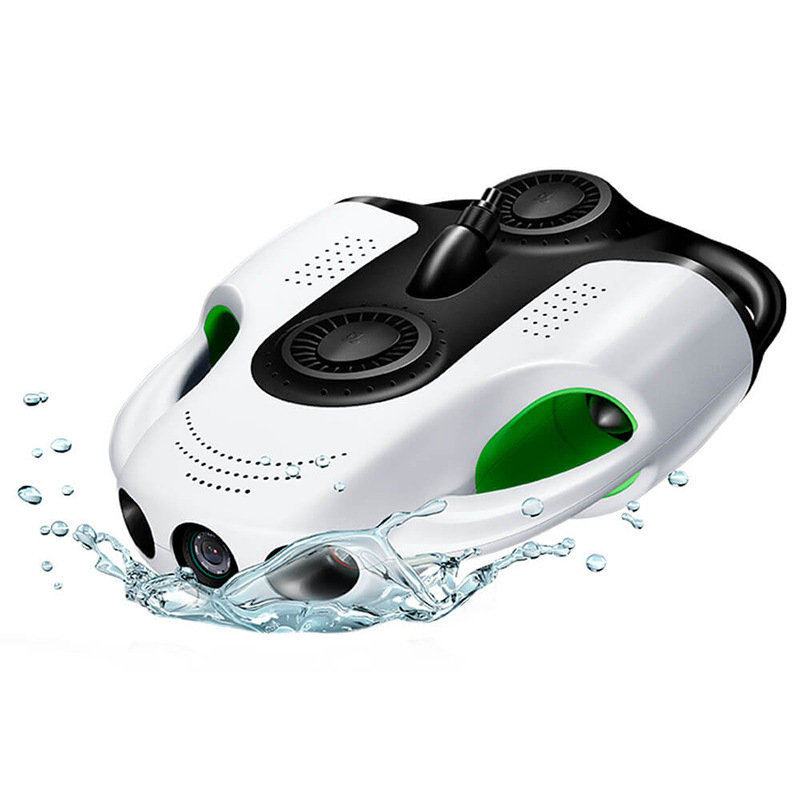
A practical, field-tested guide to operating underwater drones (ROVs) safely and efficiently — covering setup, launch procedures, navigation control, inspection workflows, safety protocols, troubleshooting, and procurement considerations. Designed for beginners, technicians, and professional operators alike.
Introduction: Why Proper ROV Operation Matters
Underwater drones—also known as Remotely Operated Vehicles (ROVs)—have become essential tools in marine inspection, offshore engineering, aquaculture, environmental research, dam maintenance, hull surveys, and search operations.
However, owning an underwater drone is not the same as knowing how to operate it professionally.
From my experience supporting operators in industrial inspection and marine environments, the most common problems are not hardware failures—but operational mistakes:
- Improper pre-dive checks
- Cable management errors
- Poor buoyancy control
- Incorrect camera exposure settings
- Lack of inspection planning
This guide provides a clear, step-by-step operational workflow—from powering on the system to completing a structured underwater inspection mission.
The goal is to help operators:
- Improve safety
- Increase inspection efficiency
- Protect equipment lifespan
- Capture usable inspection data
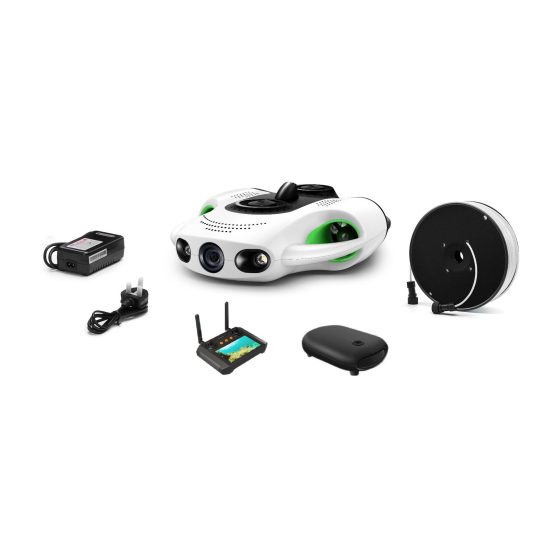
Part 1: Understanding Your Underwater Drone System
Before diving into operation, it’s important to understand the core components of a standard ROV system.
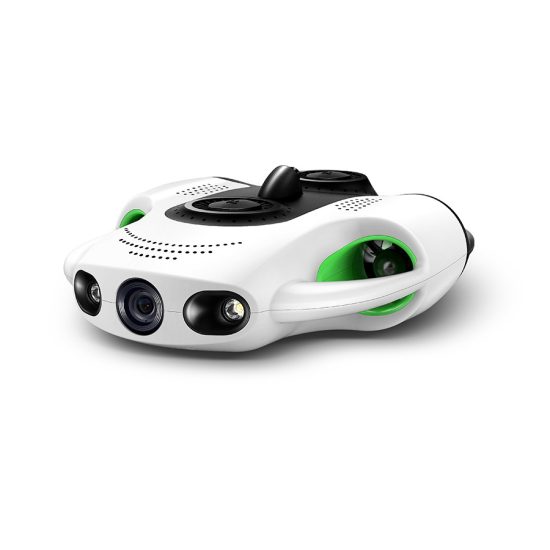
1. ROV Unit (Vehicle)
Includes:
- Thrusters
- Camera system
- LED lights
- Sensors (depth, temperature, IMU)
- Tether connection port
2. Tether System
- Transfers power (if wired system)
- Transmits video and telemetry
- Ensures physical retrieval safety
3. Control Station
- Monitor or tablet
- Joystick controller
- Telemetry interface
- Recording system
4. Power System
- Internal battery OR
- Surface power supply unit
Professional operation begins with understanding how these systems integrate.
Part 2: Step-by-Step Guide — From Setup to Inspection
Step 1: Pre-Deployment Inspection (Critical Safety Check)
Before powering on:
✔ Check the hull for cracks
✔ Ensure all seals and O-rings are clean and lubricated
✔ Inspect thrusters for debris
✔ Confirm camera lens is clean
✔ Check tether integrity (no kinks, cuts, exposed wire)
✔ Verify battery charge level
✔ Confirm firmware version
Why this matters:
Water intrusion due to seal damage is the most common cause of underwater drone failure.
Never skip this step.
Step 2: Powering On the System
- Connect tether securely.
- Connect control station power.
- Power on ground control system first.
- Power on ROV.
- Wait for system initialization.
- Confirm telemetry signal (depth reads 0 m on surface).
- Check live video feed.
If no signal appears:
- Recheck tether connections.
- Restart control system.
- Inspect power source.
Step 3: Pre-Dive System Calibration
Professional operators calibrate before entering water.
Perform:
- Compass calibration (if equipped)
- IMU stabilization
- Depth sensor reset
- White balance adjustment (for camera)
In clear water, adjust exposure manually for better inspection results.
Step 4: Safe Water Entry Procedure
For Shore Deployment:
- Hold ROV by frame, not tether.
- Gently submerge.
- Allow air bubbles to escape.
- Confirm neutral buoyancy.
For Boat Deployment:
- Lower slowly using both hands.
- Keep tether managed by assistant.
- Avoid propeller or hull interference.
Never throw the ROV into water.
Step 5: Basic Navigation Training (First 5 Minutes Underwater)
Before heading to inspection area:
- Test forward movement.
- Test reverse.
- Test lateral thrusters.
- Ascend and descend slowly.
- Test rotation control.
Keep movements slow and controlled.
Beginners often overcompensate with joystick input. Smooth control is key.
Step 6: Maintaining Stable Position (Station Keeping)
For inspection work:
- Use micro-throttle adjustments.
- Position ROV slightly angled toward structure.
- Maintain 0.5–1 meter inspection distance.
- Use lights sparingly to avoid reflection glare.
In currents:
- Face into current.
- Adjust thrust gradually.
Step 7: Camera & Lighting Optimization
Proper imaging ensures inspection quality.
Lighting Tips:
- Avoid direct reflection off metal.
- Use side lighting to reveal cracks.
- Reduce brightness in clear shallow water.
- Increase in deep, dark environments.
Camera Tips:
- Use manual focus if available.
- Lock exposure in stable lighting.
- Record continuously during inspection.
Step 8: Structured Inspection Workflow
Professional inspections follow systematic paths:
Hull Inspection Example:
- Start at bow.
- Move along starboard side.
- Inspect propellers.
- Inspect rudder.
- Repeat on port side.
Dam Wall Inspection:
- Top-to-bottom scan.
- Horizontal pass.
- Focus on joints and cracks.
Avoid random movement.
Documentation improves reliability.
Step 9: Tether Management
Poor tether handling causes:
- Entanglement
- Drag
- Control loss
Best practices:
- Always have tether manager.
- Feed out gradually.
- Avoid crossing sharp edges.
- Keep slight tension.
Step 10: Emergency Procedures
If Tether Gets Stuck:
- Stop thrusters immediately.
- Reverse gently.
- Adjust angle before applying force.
If Signal Drops:
- Stay calm.
- Slowly retrieve via tether.
- Do not pull aggressively.
If Water Leak Suspected:
- Immediately surface.
- Power off.
- Inspect seals.
Step 11: Post-Dive Shutdown
- Remove from water.
- Rinse with fresh water.
- Dry thoroughly.
- Inspect seals again.
- Power off ROV.
- Disconnect tether.
- Store in dry protective case.
Saltwater residue is highly corrosive.
Part 3: Professional Tips for Better Results
✔ Plan mission before entering water
✔ Use checklists
✔ Keep spare propellers
✔ Bring backup storage device
✔ Record telemetry logs
✔ Schedule routine maintenance
Routine discipline separates professionals from hobby users.
Part 4: Common Mistakes to Avoid
✘ Overusing thrusters aggressively
✘ Ignoring tether management
✘ Skipping seal inspection
✘ Using maximum light in clear water
✘ Operating without mission plan
Part 5: Training & Certification
For industrial operators:
- Consider formal ROV operator training
- Practice in controlled shallow environments
- Learn local water regulations
Professional training increases efficiency and reduces equipment damage.
FAQ — Purchasing & Production Questions
1. Can you manufacture customized underwater drones?
Yes.
We support OEM and ODM services including:
- Custom depth rating
- Specialized sensor integration
- Manipulator arms
- AI navigation modules
- Industrial-grade inspection packages
Engineering consultation is provided before confirmation.
2. What is the MOQ (Minimum Order Quantity)?
MOQ varies by product type:
- Standard recreational model: 1 unit
- Commercial inspection ROV: 1–3 units
- Customized industrial model: negotiable
OEM projects may require engineering batch minimums depending on tooling.
3. What is the production lead time?
Typical timelines:
- In-stock standard models: 7–14 days
- Custom configuration: 30–45 days
- Full OEM development: 45–90 days
Lead time depends on component availability and testing requirements.
4. Do you have stock available?
Yes, certain standard models are kept in limited inventory.
Stock changes frequently due to demand.
Custom-built models are produced upon order confirmation.
Contact sales for real-time availability.
5. Do you provide technical support after purchase?
Yes.
We offer:
- Remote technical guidance
- Firmware updates
- Spare parts supply
- Video operation training
- Maintenance consultation
Extended support packages are available.
Conclusion: Precision, Preparation, and Professionalism
Operating an underwater drone is not difficult—but operating it professionally requires structured preparation and disciplined execution.
From pre-dive inspection to structured scanning paths, every step affects:
- Safety
- Equipment longevity
- Data accuracy
- Operational efficiency
By following the step-by-step procedures outlined above, operators can significantly improve mission success while reducing risk.
Underwater drone technology is advancing rapidly—but human operation remains the critical factor.
Master the workflow, and your ROV becomes not just a device—but a reliable underwater inspection partner.


No comments yet