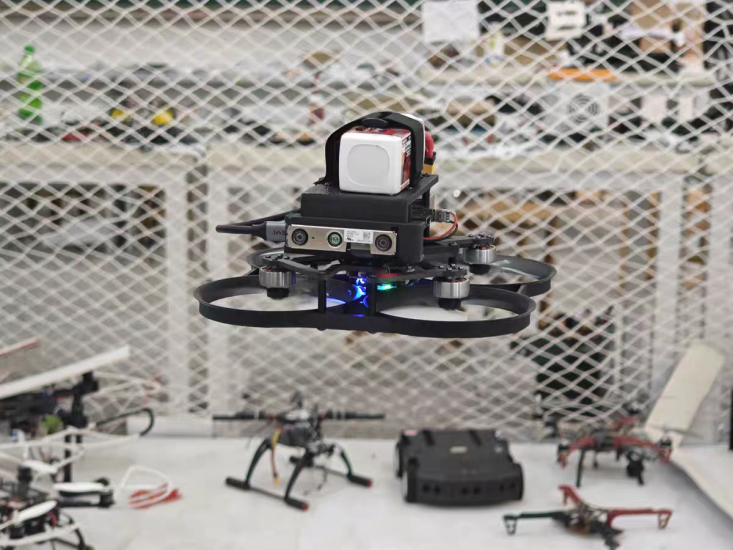


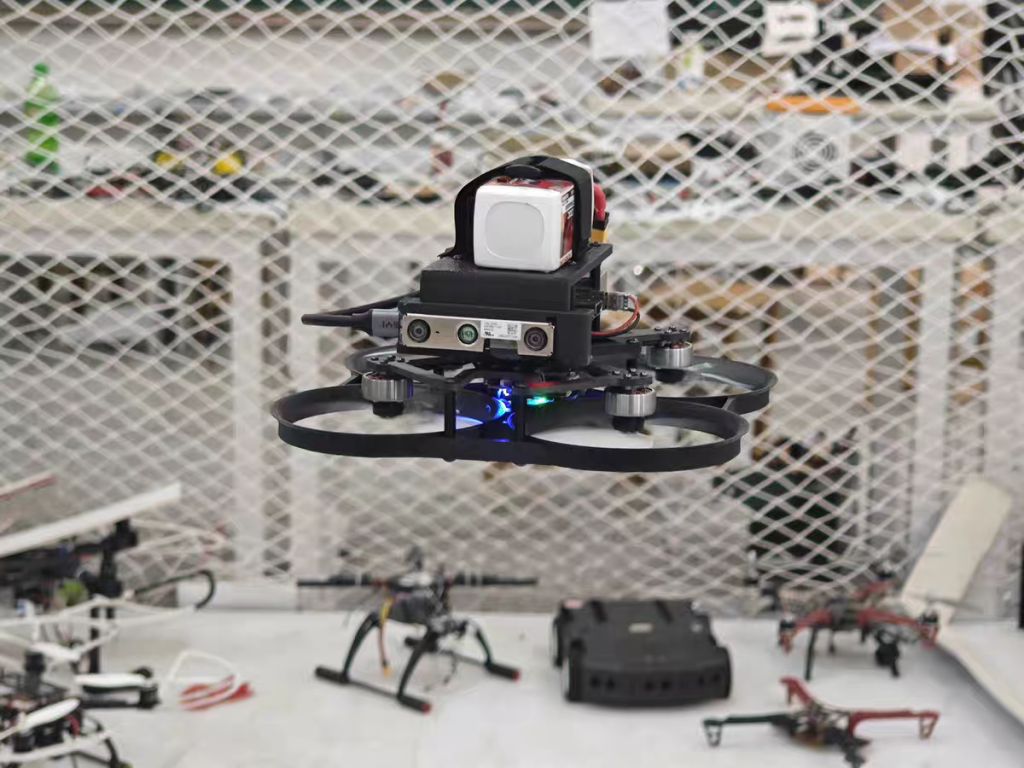
The transition from manual drone piloting to autonomous flight represents one of the most significant pedagogical shifts in modern aerospace education. While flying a drone with a radio controller requires hand-eye coordination, programming a drone to navigate complex environments autonomously requires a deep understanding of sensor integration, algorithmic decision-making, and spatial mathematics. This paper provides a comprehensive, hands-on guide for educators and students to implement Obstacle Avoidance and Waypoint Planning systems. By deconstructing the “black box” of autonomous navigation, we offer a step-by-step technical pathway—from simulation to real-world flight—to build robust, intelligent UAV systems.
1. Introduction: Beyond the Remote Control
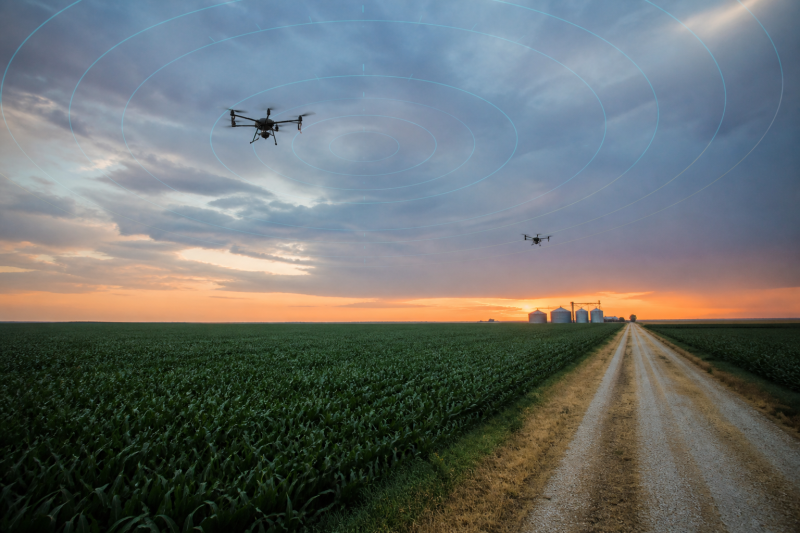
In the early stages of drone education, the thrill of takeoff is often enough. However, the limitations of Radio Control (RC) become apparent when the mission requires precision, endurance, or operation Beyond Visual Line of Sight (BVLOS). Autonomous flight, driven by pre-programmed Waypoint Planning and reactive Obstacle Avoidance, removes human error and enables complex tasks such as infrastructure inspection, agricultural surveying, and search-and-rescue operations.
To master these skills, students must move from being “pilots” to “architects.” This guide breaks down the process of teaching autonomous navigation into digestible, practical steps, ensuring that the logic of flight is transparent, reproducible, and safe.
2. The Foundation: Understanding Waypoint Planning
Waypoint navigation is the most fundamental form of autonomous flight. It is the “Mission” layer of the MSOEN framework. However, simply clicking points on a map (like in consumer apps) does not teach the underlying logic. To provide a professional education, we must teach the geometry and kinematics of movement.
2.1 The Mathematics of Movement
A waypoint is defined by a set of coordinates (Latitude, Longitude, Altitude) and a set of actions (e.g., “Take Photo,” “Hover for 5 seconds”).
-
Technical Detail: Students should learn to write scripts that convert GPS coordinates (Geodetic coordinates) into a Local Tangent Plane (Cartesian coordinates) for easier calculation of distances and bearings.
-
The Algorithm: The Haversine formula is used to calculate the distance between two waypoints, while the Bearing formula determines the heading. By coding these from scratch, students understand that the drone isn’t just “going to a pin on a map”; it is calculating the shortest path on a sphere.
2.2 Implementing Waypoints with MAVSDK
To move from theory to practice, we utilize the MAVSDK (Micro Air Vehicle Software Development Kit), an open-source set of libraries that allow high-level programming languages like Python to communicate with the flight controller via the MAVLink protocol.
Practical Exercise:
Students are tasked with writing a Python script to execute a “Box Pattern” mission.
-
Arm and Takeoff: Send the command to arm the motors and takeoff to 10m.
-
Define Waypoints: Create a list of tuples:
[(0,0,10), (50,0,10), (50,50,10), (0,50,10)](in meters relative to the home position). -
Mission Execution: Use a
forloop to iterate through the waypoints, sending thegoto_position_target_local_nedcommand. -
RTL (Return to Launch): Once the loop is complete, command the drone to return home and land.
3. The Challenge: Obstacle Avoidance
Waypoint planning assumes a “clear sky.” In the real world, trees, buildings, and power lines pose threats. Obstacle Avoidance is the drone’s ability to detect and react to these hazards without human intervention.
3.1 Sensor Selection and Logic
For educational purposes, we categorize sensors by their detection method:
-
Proximity Sensors (Ultrasonic/LiDAR): Good for short-range, precise detection. Logic: “If distance < 2 meters, STOP.”
-
Stereo Vision (Cameras): Good for identifying objects and depth. Logic: “If a large contour appears in the center of the frame, YAW left.”
-
360-Degree LiDAR (3D Lidar): The industry standard for mapping. Logic: “Create a 3D point cloud and identify clusters.”
3.2 The “Bubble” Concept (Potential Fields)
A highly effective way to teach obstacle avoidance is through Artificial Potential Fields.
-
The Theory: Imagine the drone is a ball on a hilly surface. The target waypoint is a “valley” (attractive force), and obstacles are “peaks” (repulsive force). The drone navigates by moving downhill.
-
The Code: Students program a “Bubble” around the drone. If an obstacle enters the bubble, a vector is calculated to push the drone away. This is a fantastic introduction to Vector Math and Physics.
4. The Step-by-Step Practical Lab
To implement this in a school setting, we propose a three-stage pipeline: Simulate, Tether, and Fly.
Stage 1: Simulation (The Digital Twin)
Before risking hardware, students must test their logic in a simulated environment.
-
Software: Gazebo or AirSim. These simulators provide a physics engine and realistic sensor data.
-
The Task: Students load a “Warehouse” model in Gazebo. They must write a Python script that uses the drone’s simulated Lidar to detect walls and navigate to a target in the center of the warehouse.
-
Debugging: This stage teaches the importance of “Timeouts.” What happens if the sensor fails? Students must write
try-exceptblocks to handle “Sensor Timeout” errors.
Stage 2: The Workbench (Hardware Integration)
Moving to hardware requires understanding the “Companion Computer” architecture.
-
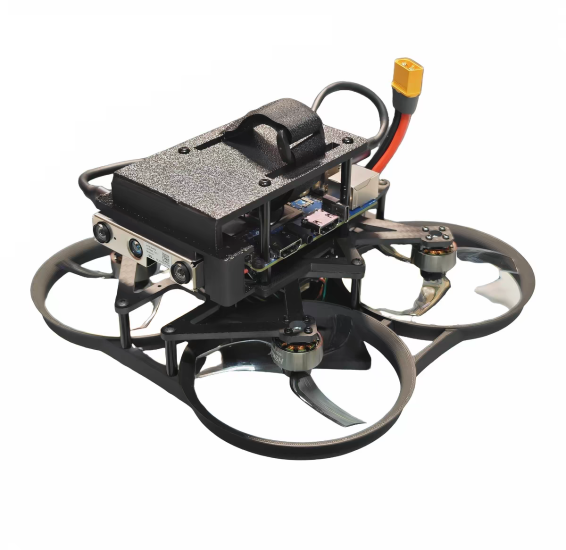
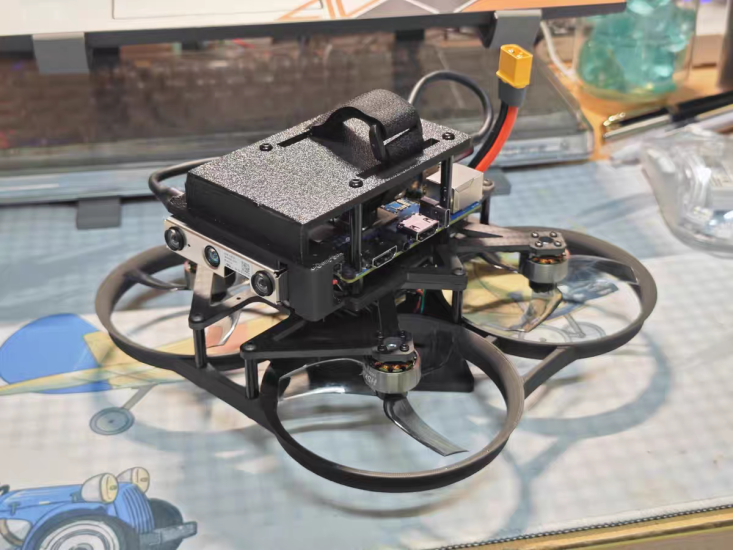
Hardware Setup: A Pixhawk flight controller (running PX4) is connected to a Raspberry Pi 4 via a serial cable (TELEM2 port). The Pi runs the Python scripts.
-
The “Hello World” of Sensors: Students connect a simple HC-SR04 Ultrasonic sensor to the Pi’s GPIO pins. They write a script to read the distance and print it to the console.
-
Integration: The next step is to combine the sensor data with the flight commands. If the ultrasonic sensor reads
< 100cm, the script sends aland()command to the Pixhawk.
Stage 3: The Flight Lab (Validation)
This is the culmination of the project.
-
The Scenario: “The Autonomous Corridor.”
-
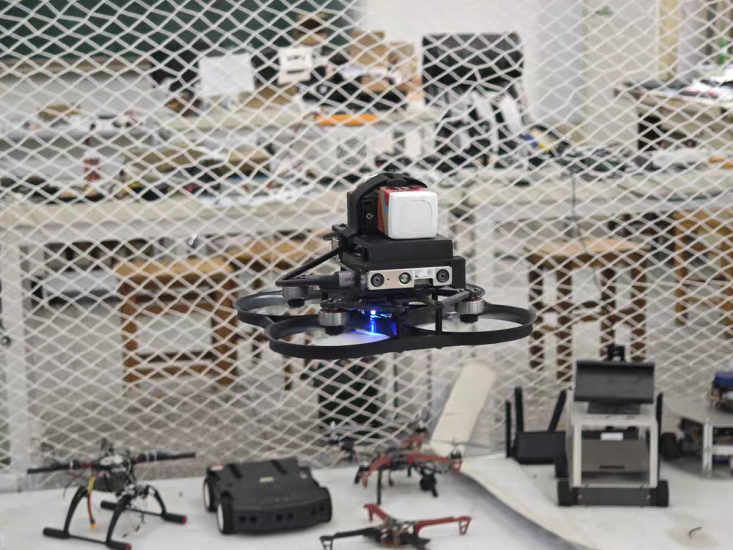
The Setup: A 20-meter long netted corridor with obstacles (foam blocks) placed at random intervals.
-
The Mission: The drone is programmed to fly from one end to the other (Waypoint Planning). It must use its onboard sensors to detect the foam blocks (Obstacle Avoidance) and fly over or around them.
-
Success Metric: Successful navigation without human intervention and without touching an obstacle.
5. Advanced Concepts: From Reactive to Proactive
Once students master basic avoidance, the curriculum can move to Proactive Planning.
-
SLAM (Simultaneous Localization and Mapping): Instead of just reacting to an obstacle, the drone maps the environment and plans a path around it before moving.
-
Pathfinding Algorithms: Introduce A (A-Star)* or Dijkstra’s algorithm. Students learn to create an “Occupancy Grid” (a map of 1s and 0s) and program the drone to find the shortest path through a maze. This is where Computer Science and Aerospace Engineering merge completely.
6. Safety and Ethical Considerations
Autonomous flight carries risks. A crucial part of the “Practical” education is safety.
-
The Kill Switch: Every autonomous script must have a “Kill Switch” trigger (either a physical button or a specific key press) that immediately disarms the motors or switches to “Loiter” mode.
-
Geofencing: Students must learn to set a “Geofence” (a virtual cage) so that the drone cannot fly beyond a certain radius or altitude, preventing fly-aways.
7. Conclusion
Teaching “Practical Obstacle Avoidance and Waypoint Planning” is about more than just making a machine move; it is about teaching students to think logically about space, time, and risk. By following this step-by-step guide—from the math of waypoints to the sensors of avoidance—educators can provide a professional, industry-standard education. The drone becomes a canvas, and the code becomes the brush, allowing students to paint a path through the sky with precision and intelligence.
THE END


No comments yet