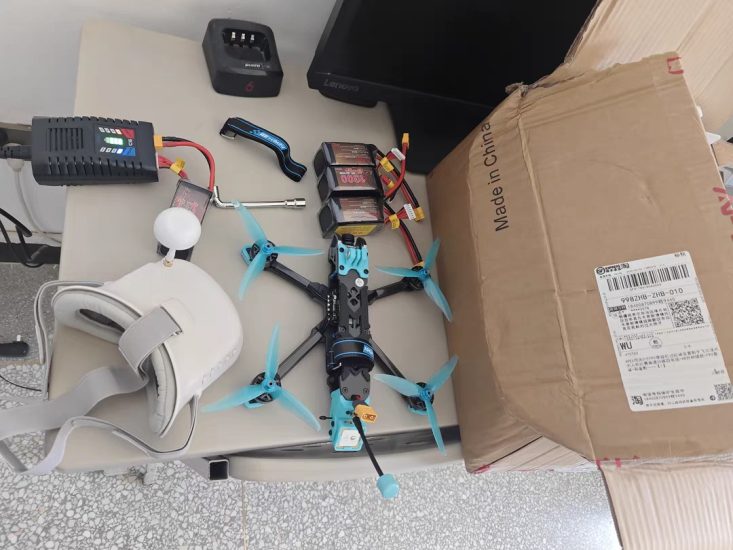


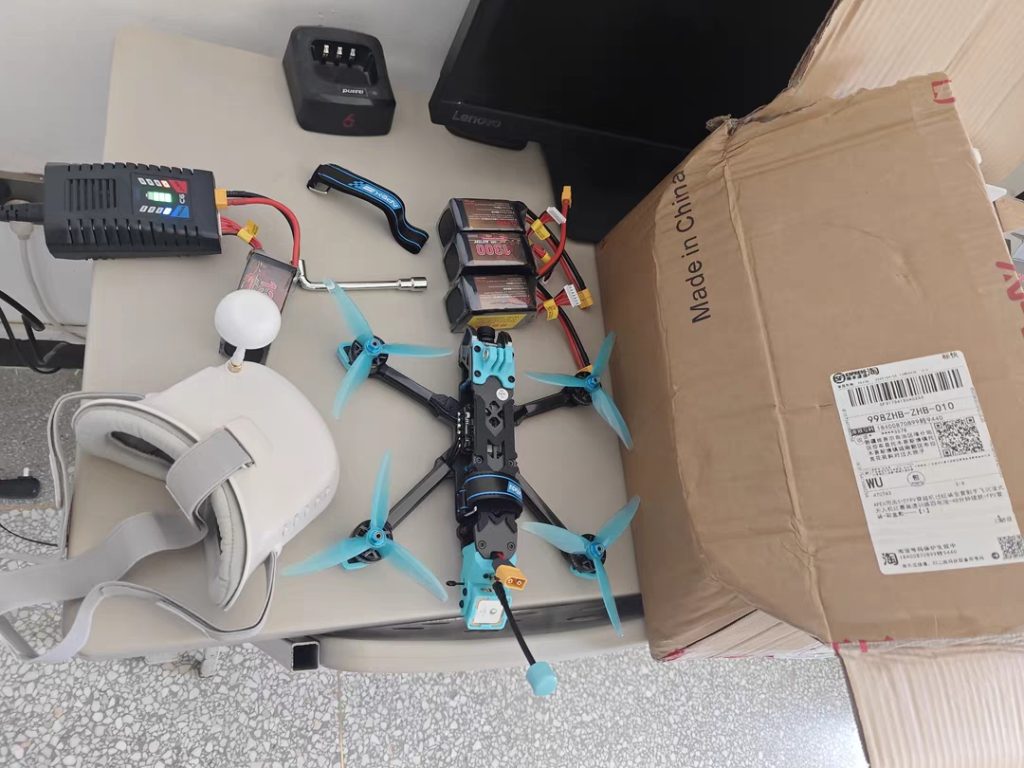
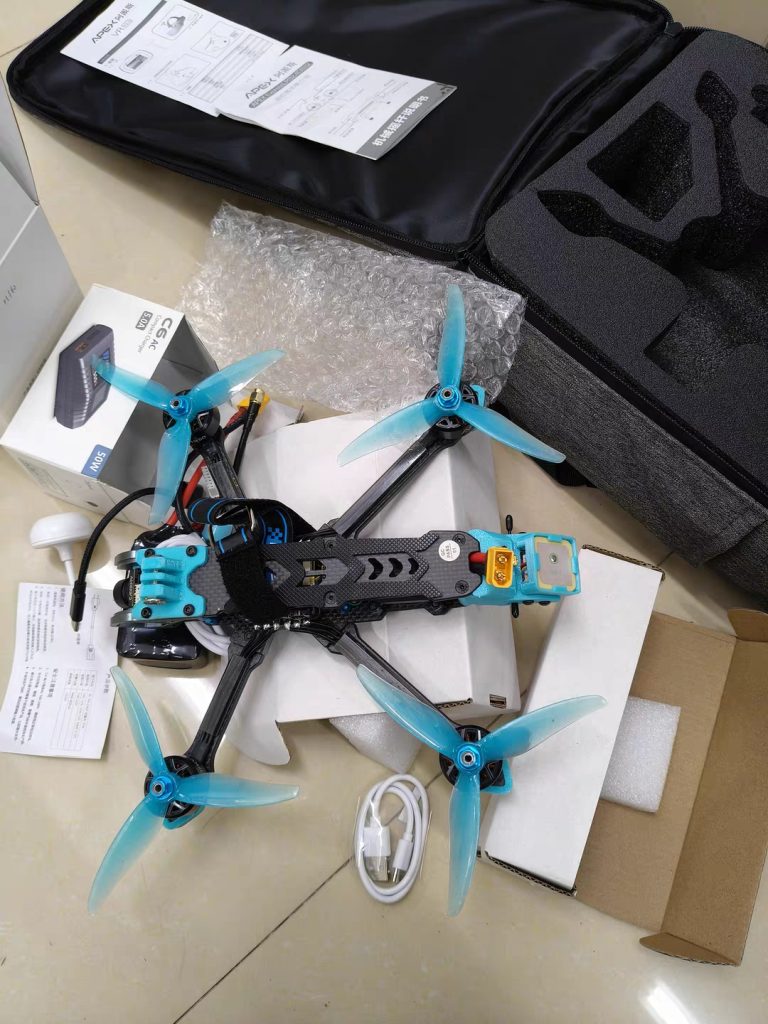
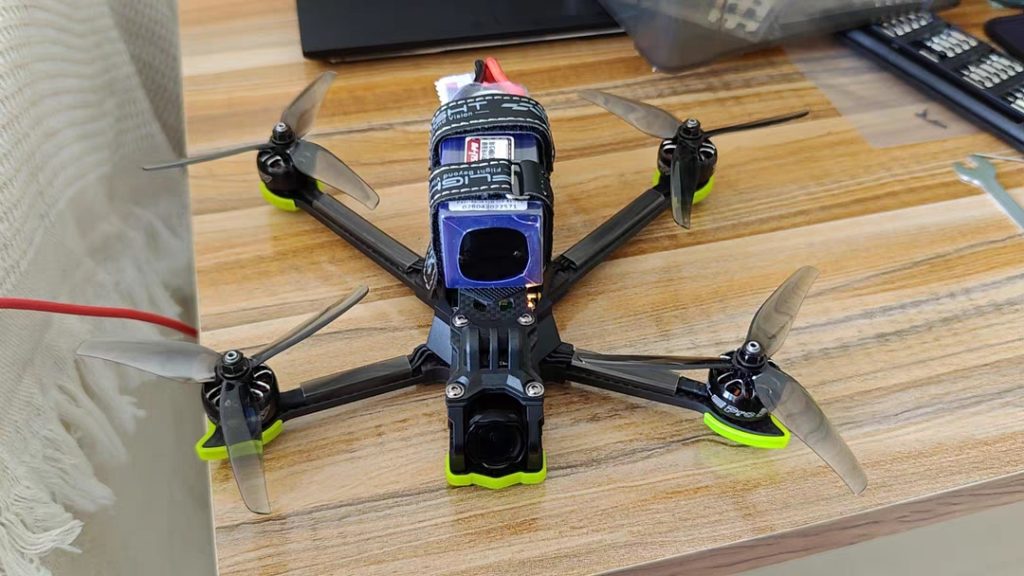
High-quality footage is one of the main reasons pilots invest in FPV drones. Whether you are creating cinematic videos, promoting real estate, documenting construction projects, inspecting infrastructure, or producing social media content, poor image quality can quickly reduce the value of your work.
Many FPV pilots blame their cameras when footage appears blurry, shaky, noisy, overexposed, or unprofessional. However, camera quality problems are often caused by a combination of factors including drone setup, camera settings, vibration control, flight techniques, lighting conditions, and post-production workflow.
This guide explains the most common FPV camera quality issues and practical methods to achieve clearer and more professional footage.
Why FPV Footage Sometimes Looks Unprofessional
Unlike traditional camera drones that use advanced stabilization systems, FPV drones prioritize speed, agility, and pilot control.
As a result, FPV footage is more sensitive to:
-
Vibration
-
Sudden movements
-
Camera angle
-
Lighting changes
-
Aircraft tuning
-
Pilot skill
Understanding these factors is the first step toward improving image quality.
Problem 1: Blurry Video Footage
Blurry footage is one of the most common complaints among FPV pilots.
Possible causes include:
Incorrect Camera Focus
Some cameras allow manual focus adjustment.
If focus is not properly set, footage may appear soft even under ideal flying conditions.
Dirty Camera Lens
Dust, fingerprints, moisture, or scratches can reduce image clarity.
Always inspect and clean the lens before flying.
Low-Quality Camera Hardware
Not all FPV cameras deliver the same level of detail.
Professional applications often require higher-resolution imaging systems with better optics.
Excessive Motion Blur
Flying too fast while using inappropriate camera settings can create unwanted blur.
Balancing shutter speed and flight speed helps maintain image sharpness.
Problem 2: Shaky or Jello Footage
Jello effect refers to unwanted vibration patterns visible in video recordings.
Common causes include:
Bent Propellers
Even minor propeller damage can generate vibration.
Replace damaged propellers immediately.
Unbalanced Motors
Motor imbalance creates vibration that transfers directly to the camera.
Poor Frame Design
Weak frame structures may amplify vibration.
High-quality carbon fiber frames often provide better rigidity.
Improper Camera Mounting
Loose camera mounts can introduce unwanted movement during flight.
Secure mounting systems help produce smoother footage.
Problem 3: Overexposed or Underexposed Video
Lighting conditions significantly influence image quality.
Overexposure causes bright areas to lose detail, while underexposure makes footage dark and noisy.
To improve exposure:
-
Fly during favorable lighting conditions
-
Adjust camera settings appropriately
-
Avoid extreme contrast situations
-
Use filters when necessary
Proper exposure management results in more professional-looking footage.
Problem 4: Poor Low-Light Performance
Many FPV flights occur during sunrise, sunset, or cloudy conditions.
Low-light environments can introduce:
-
Image noise
-
Reduced detail
-
Color inaccuracies
-
Poor visibility
When selecting an FPV camera, consider:
-
Sensor size
-
Light sensitivity
-
Dynamic range
-
Image processing capability
Cameras designed for professional applications generally perform better in challenging lighting conditions.
Problem 5: Unstable Horizon
An unstable horizon can make footage appear amateurish.
Causes include:
Flight Controller Tuning Issues
Poor tuning can create unwanted oscillations and instability.
Aggressive Flight Inputs
Sudden control movements often produce abrupt camera motion.
Improper Camera Angle
Extreme camera angles may reduce visual stability for cinematic applications.
Careful setup and smooth flying techniques help maintain a stable horizon.
Problem 6: Weak Color Performance
Flat or unrealistic colors can reduce the visual impact of FPV footage.
Factors affecting color quality include:
-
Camera sensor capability
-
White balance settings
-
Lighting conditions
-
Image profiles
Many professional content creators perform color correction during editing to achieve a more polished appearance.
Importance of Vibration Control
Vibration is one of the biggest enemies of high-quality FPV footage.
To minimize vibration:
Use Quality Propellers
Precision-manufactured propellers generally produce smoother flight characteristics.
Inspect Motors Regularly
Damaged bearings and motor shafts can create vibration issues.
Secure Electronic Components
Loose equipment can introduce unwanted movement and noise.
Maintain Frame Integrity
After crashes, inspect the frame for cracks or deformation.
Even small structural issues can affect video quality.
Camera Angle Selection
Camera angle influences both flight characteristics and final footage.
Lower Camera Angles
Advantages:
-
Better for slower flights
-
Easier for beginners
-
More stable appearance
Higher Camera Angles
Advantages:
-
Better for high-speed flight
-
Suitable for racing
-
Improved forward visibility at speed
For cinematic footage, moderate camera angles often provide the most natural results.
Smooth Flying Creates Better Footage
Even the best camera cannot compensate for poor flying techniques.
Professional FPV pilots focus on:
-
Smooth throttle control
-
Gentle turns
-
Consistent flight paths
-
Controlled acceleration
-
Predictable movements
Practice is often more important than expensive equipment when improving footage quality.
Importance of Aircraft Tuning
A properly tuned drone flies more smoothly and efficiently.
Benefits include:
-
Reduced oscillations
-
Improved stability
-
Better control precision
-
Cleaner video output
Flight controller tuning should be optimized before evaluating camera performance.
Choosing the Right FPV Drone for Cinematic Footage
If professional footage is your goal, consider a drone designed specifically for cinematic applications.
Key characteristics include:
-
Stable frame design
-
Efficient motors
-
Low vibration levels
-
Reliable power delivery
-
High-quality camera integration
-
Long flight endurance
The entire aircraft system contributes to image quality.
Professional Post-Production Matters
Even excellent raw footage often requires editing.
Common post-production steps include:
-
Color correction
-
Exposure adjustments
-
Stabilization
-
Noise reduction
-
Sharpness optimization
A good editing workflow can significantly enhance final results.
OEM and ODM Cinematic FPV Drone Solutions
Businesses involved in media production, inspections, tourism, real estate, and industrial filming often require customized FPV platforms.
OEM and ODM manufacturers can provide:
-
Private label FPV drones
-
Cinematic drone configurations
-
Customized camera integration
-
Long-endurance FPV platforms
-
Professional filming solutions
-
Industry-specific drone systems
Customized solutions help businesses achieve reliable performance and consistent image quality.
Conclusion
Poor FPV camera quality is rarely caused by the camera alone. Factors such as vibration, frame design, motor balance, propeller condition, flight controller tuning, camera settings, and pilot skill all contribute to the final image.
By optimizing the entire drone system and adopting smoother flying techniques, pilots can dramatically improve footage quality without necessarily purchasing more expensive equipment. Clear, stable, and professional FPV footage results from a combination of proper hardware selection, careful setup, regular maintenance, and continuous flight practice.
FAQ
Why is my FPV footage blurry?
Blurry footage may result from incorrect focus, dirty lenses, vibration, low-quality cameras, or inappropriate camera settings.
What causes jello effect in FPV videos?
Jello effect is usually caused by vibration from damaged propellers, unbalanced motors, weak frames, or improper camera mounting.
Can flight controller tuning improve video quality?
Yes. Proper tuning reduces oscillations and improves flight stability, leading to smoother footage.
Is expensive camera equipment always necessary?
Not always. Many image quality issues are caused by setup and flying techniques rather than camera limitations.
How can I achieve more cinematic FPV footage?
Use smooth flight movements, reduce vibration, optimize camera settings, maintain stable aircraft tuning, and apply professional post-production techniques.
THE END



No comments yet