



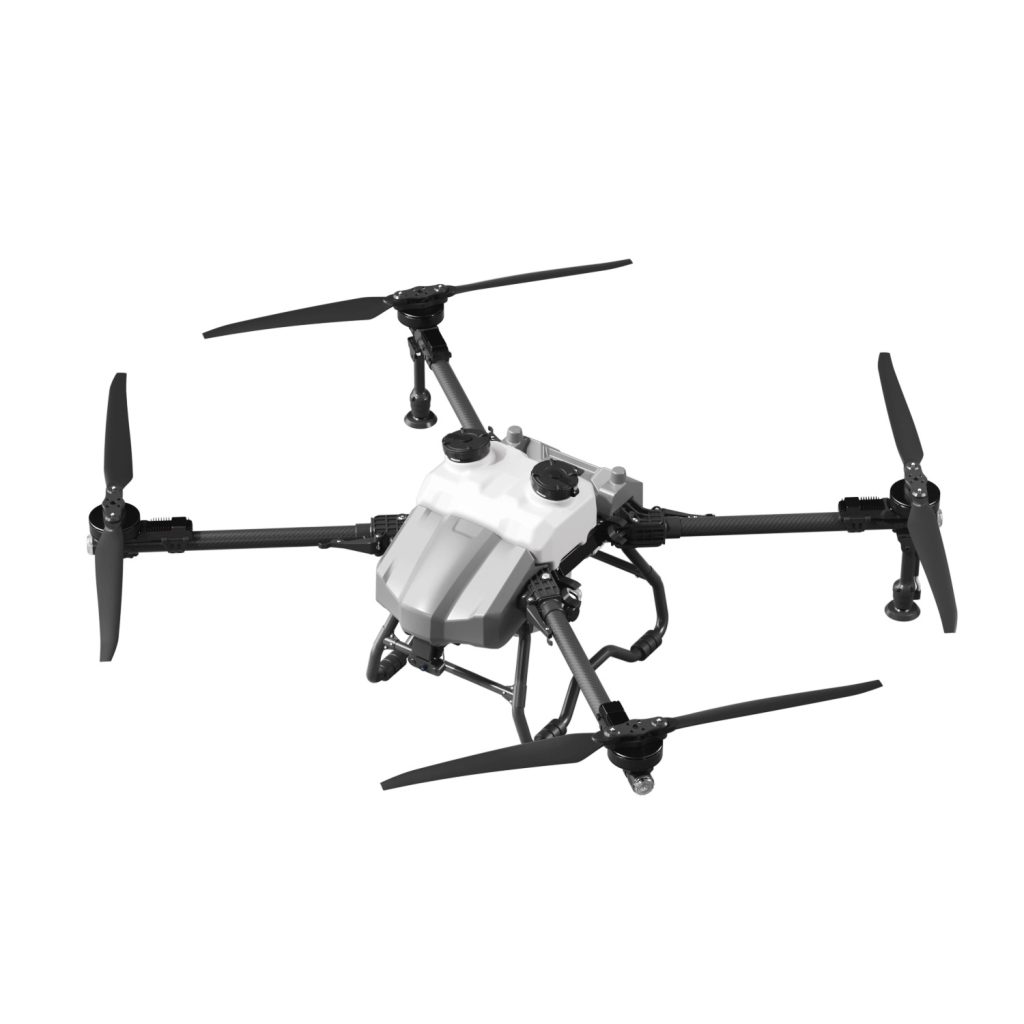
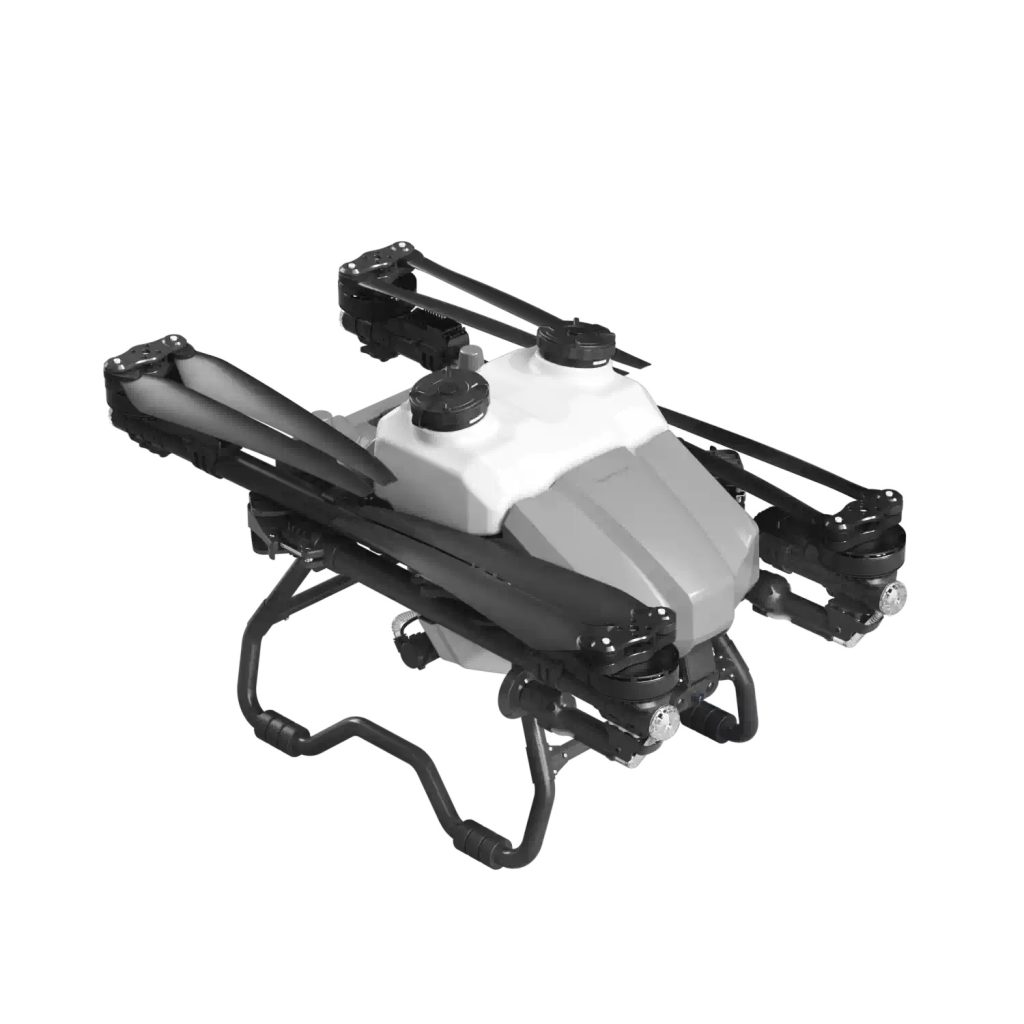
For any new drone pilot or commercial operator, nothing matches the excitement of the first few takeoffs. However, that excitement can quickly turn into a costly nightmare if the aircraft suffers a “flyaway” or a catastrophic crash (often referred to in the industry as “crashing” or “bombing”).
Modern high-tech drones come equipped with advanced automation, but they are not invincible. Human error, environmental factors, and a lack of preparation remain the leading causes of drone accidents. To protect your equipment and ensure every flight ends with a safe landing, master these five core piloting techniques.
1. Perfect the “Golden 10-Second” Hover Check
The biggest mistake beginners make is launching the drone and immediately zooming into the sky. Instead, implement a strict hover check on every single takeoff:
- Launch the drone to an eye-level altitude of about 2 to 3 meters (6 to 10 feet).
- Let it hover completely hands-off for 10 seconds.
- Listen for unusual motor noises, check the screen for compass/GPS warning calibration alerts, and ensure the drone is holding its position steadily against the wind. If anything feels off, land immediately.
2. Master Nose-In Orientation (The Mirror Effect)
When your drone is facing away from you, pushing the control stick left moves the drone left. But when the drone rotates and faces toward you, the controls reverse—pushing left moves the drone to your right. This is known as Nose-In Orientation.
- The Risk: New pilots often panic when a drone flies toward them because they lose track of direction, leading to collisions with trees or buildings.
- The Fix: Practice low-altitude maneuvers in an open field, turning the drone in all directions until your muscle memory adapts to controlling the aircraft regardless of which way the camera is pointing.
3. Understand the Limits of Obstacle Avoidance
Modern drones feature incredible omnidirectional vision sensors, but relying on them blindly is a recipe for disaster.
Important Note: Obstacle avoidance systems use optical cameras or infrared sensors. They do not work well in low-light environments, over reflective surfaces like water, or against thin hazards such as power lines, bare tree branches, and glass windows.
Always maintain a direct Visual Line of Sight (VLOS) with your aircraft rather than staring solely at your remote control screen.
4. Set Your RTH (Return-to-Home) Altitude Smartly
The Return-to-Home (RTH) button is your ultimate safety net if you lose your video transmission signal. When triggered, the drone automatically climbs to a pre-set altitude and flies back to its takeoff spot. However, if your RTH altitude is set too low, the drone will fly straight into an obstacle on its way back.
- Pro Tip: Before every takeoff, look at the tallest structure, tree, or hill in your immediate area. Set your drone’s RTH altitude at least 15 to 20 meters higher than that tallest point.
5. Respect the Wind and Battery Dynamics
Drones consume significantly more battery power when flying against the wind. A common amateur mistake is flying downwind (with the wind pushing the drone away) for a long distance, only to realize the drone doesn’t have enough battery power to fight the headwind on the journey back home.
- Always fly into the wind at the start of your flight mission. That way, when your battery runs low, the wind will naturally help push your drone back toward your landing pad.
Pre-Flight Checklist Table
Before you click the takeoff button, run through this quick physical checklist to guarantee a smooth flight:


No comments yet