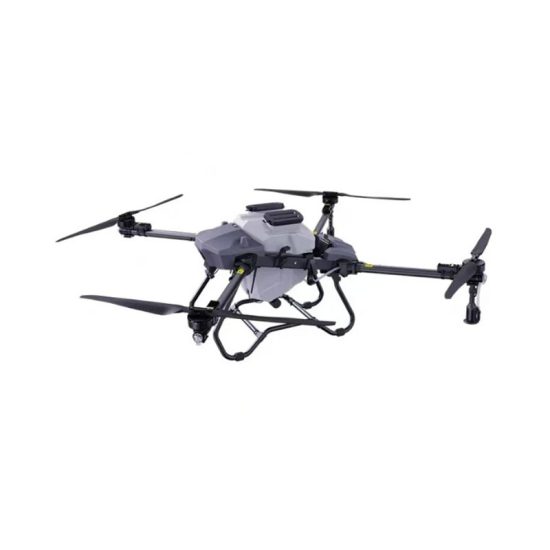


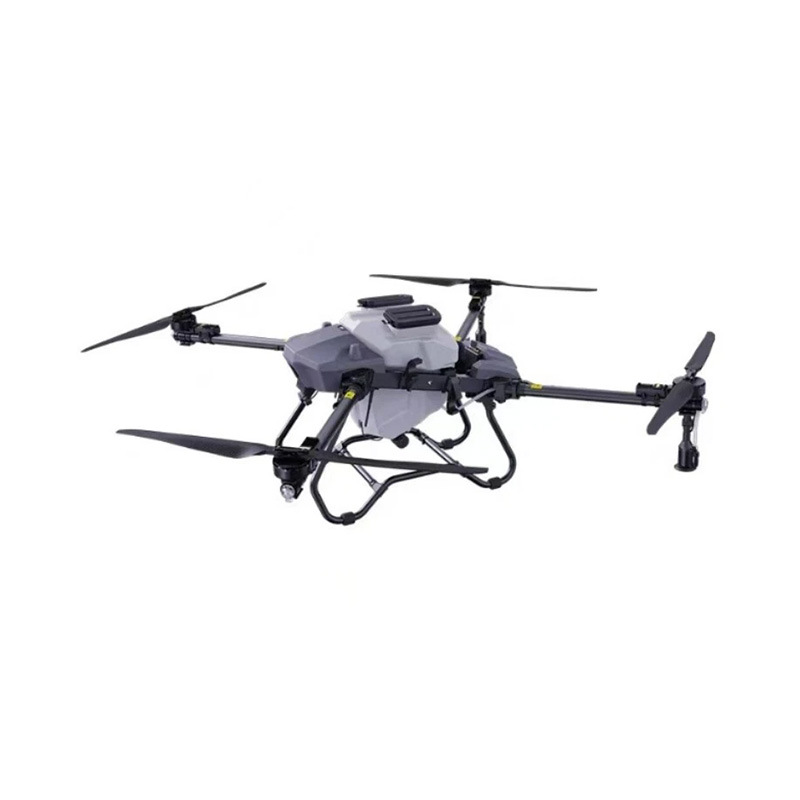
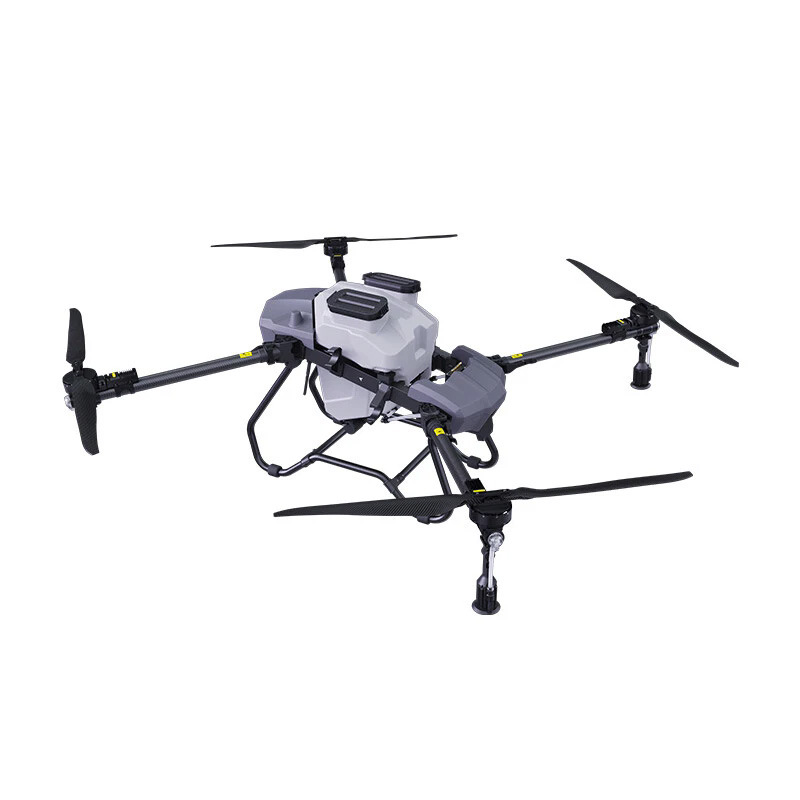

1. Introduction
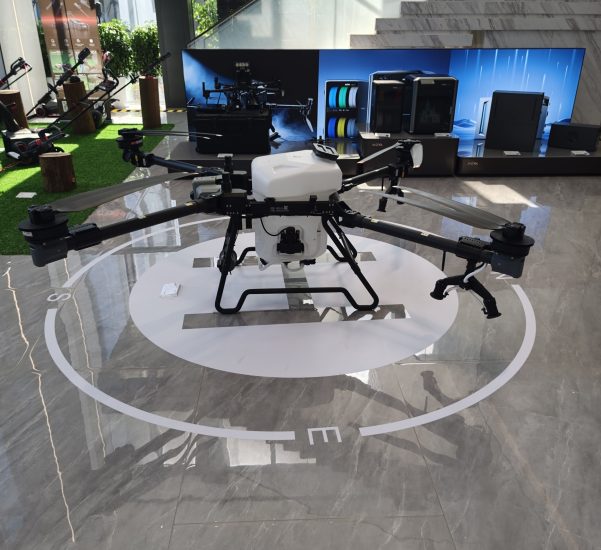
Before operating your Msoen drone for the first time, it is important to complete the correct setup process. A proper first flight setup ensures stable performance, accurate GPS positioning, and safe operation in the field.
This guide will walk you through all necessary steps from unboxing to your first successful flight.
2. Pre-Flight Checklist
Before powering on your drone, make sure everything is ready:
- Fully charge the drone battery (recommended above 95%)
- Inspect propellers for damage or looseness
- Ensure remote controller is fully charged
- Confirm GPS signal availability (at least 10 satellites recommended)
- Choose an open area with no buildings, trees, or power lines nearby
A proper environment reduces flight risks and improves system accuracy.
3. Drone Assembly and Initial Inspection
Step 1: Install Propellers
Attach each propeller according to the marked motor direction. Tighten securely to avoid vibration during flight.
Step 2: Insert Battery
Slide the intelligent flight battery into the compartment until you hear a click.
Step 3: System Check
Power on the drone and check:
- LED indicator status
- Motor response
- System initialization message in the app
4. First-Time Connection Setup
Step 1: Power On Sequence
Turn on the remote controller first, then power on the drone.
Step 2: Connect to Msoen App
Open the Msoen drone control application and follow these steps:
- Tap “Add Device”
- Scan QR code or enter device ID manually
- Wait for successful pairing confirmation
Step 3: Firmware Sync
If prompted, allow the system to synchronize firmware and update components before flight.
5. System Calibration
Proper calibration is essential for stable flight performance.
IMU Calibration
Place the drone on a flat surface and follow the app instructions to calibrate internal sensors.
Compass Calibration
Rotate the drone horizontally and vertically away from metal objects or magnetic interference.
GPS Initialization
Wait until GPS signal becomes stable before proceeding. Do not take off if signal is weak.
6. First Takeoff Procedure
Step 1: Unlock Motors
Push both joystick sticks inward or outward (depending on configuration) to unlock motors.
Step 2: Auto Takeoff
Tap the “Takeoff” button in the app or use the controller command. The drone will lift to a safe hover height automatically.
Step 3: Hover Test
Allow the drone to hover for 20–30 seconds to confirm stability and control response.
7. Landing and Shutdown
- Use the “Auto Landing” function in the app or controller
- Wait until motors stop completely
- Power off the drone first, then the remote controller
- Remove the battery after flight if needed
FAQ
Q1: Why won’t my drone connect to the remote controller?
A: Check battery level, restart both devices, and ensure they are within pairing range.
Q2: Can I fly without GPS signal?
A: It is not recommended. GPS is required for stable flight and safety features.
Q3: How long should I hover during the first flight?
A: At least 20–30 seconds to ensure stable control response.
Q4: What should I do if the drone drifts during hover?
A: Recalibrate IMU and compass before next flight.


No comments yet