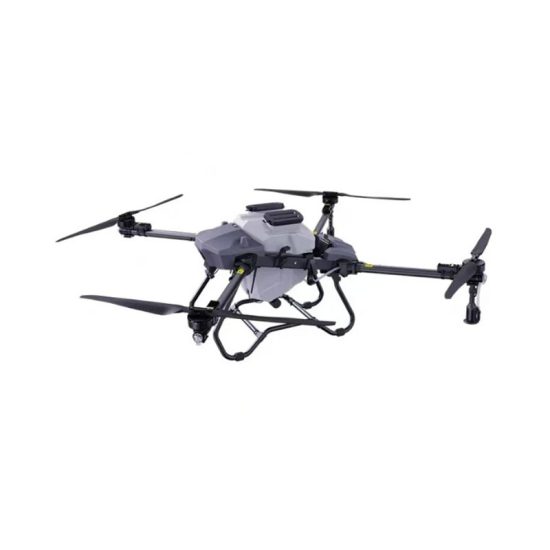


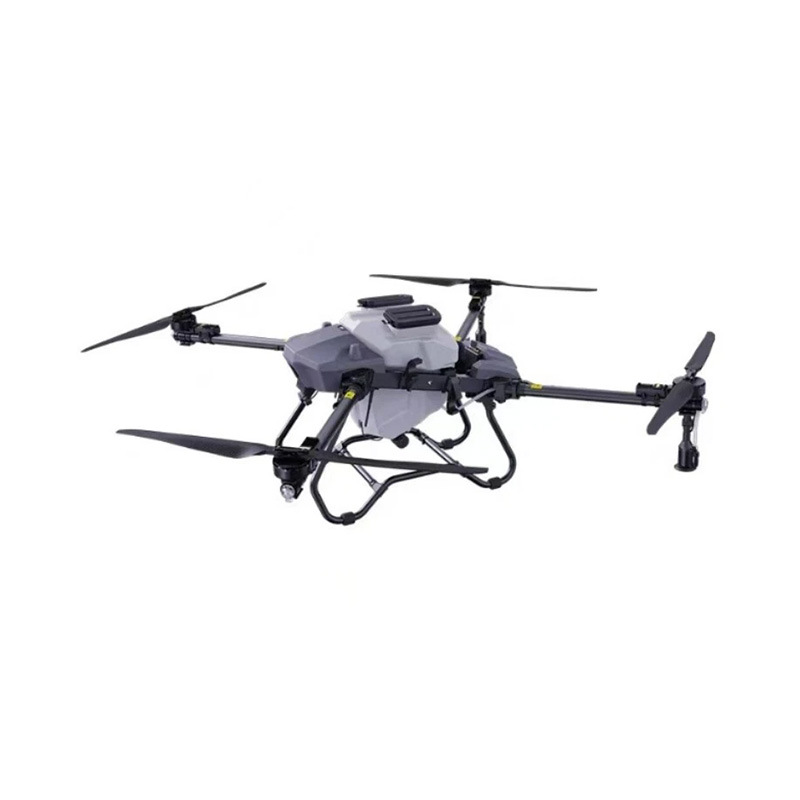
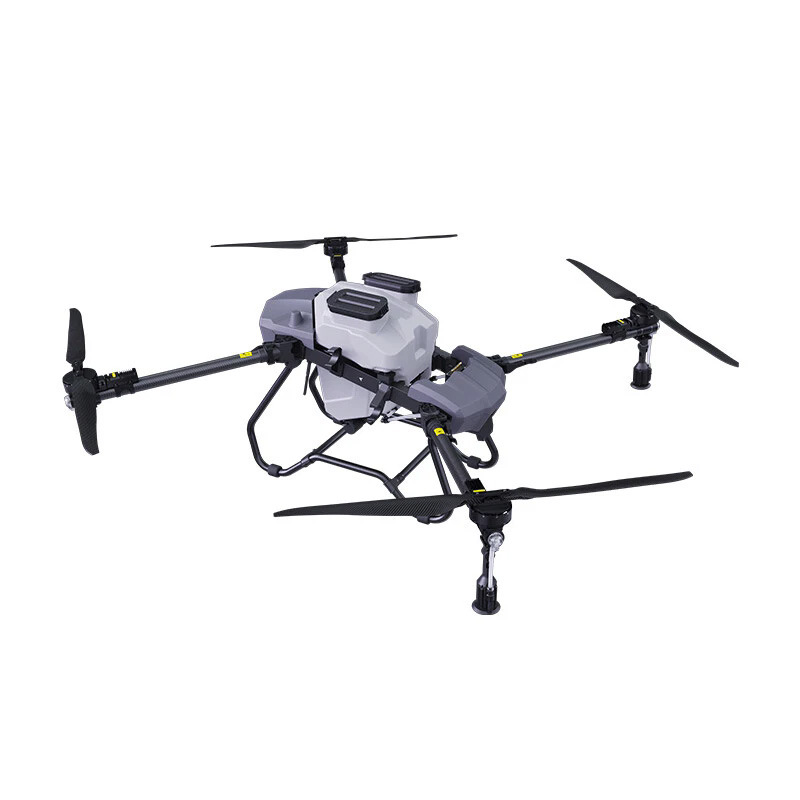

Starting a new drone for the first time can feel complicated, especially for agricultural operations where precision, safety, and reliability are important. This guide explains how to install, inspect, and prepare your drone for its first flight. Whether you use a spraying drone, spreading drone, or multifunction agricultural drone, following the correct setup process can improve performance and reduce operational risks.
Why Proper Drone Installation Matters
A properly installed drone offers:
-
Stable and safer flights
-
Better spraying and spreading accuracy
-
Reduced equipment damage risks
-
Longer battery and motor lifespan
-
Higher operational efficiency in farms and agricultural projects
Incorrect installation may lead to unstable flight, poor GPS signal, calibration issues, or spraying system errors.
Step 1: Unbox and Check All Components
Before installation, inspect all components carefully. A standard agricultural drone package may include:
-
Drone frame and arms
-
Flight battery
-
Remote controller
-
Propellers
-
Charging equipment
-
Spraying or spreading system
-
Water tank or fertilizer hopper
-
User accessories and spare parts
Check whether there are visible damages from shipping. Make sure all connectors, cables, and accessories are complete before moving to installation.
Step 2: Install the Drone Arms
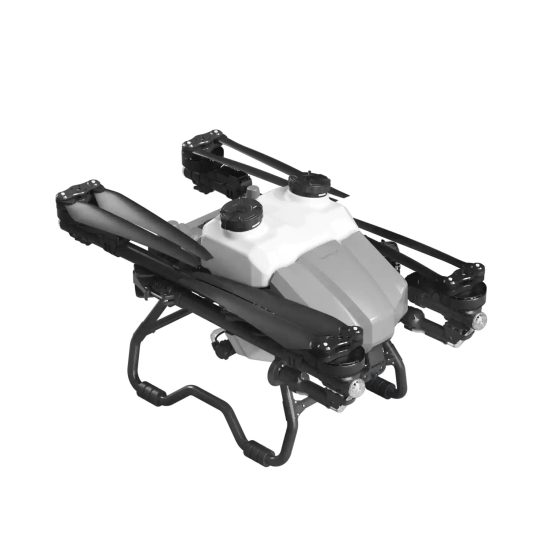
Some agricultural drones are designed with foldable arms for transportation.
Follow these basic steps:
-
Open the drone arms slowly.
-
Ensure every arm is locked securely.
-
Check for loose joints or unusual movement.
-
Confirm symmetrical positioning before operation.
Loose arms may affect flight balance and spraying precision.
Step 3: Install the Propellers
Installing propellers correctly is one of the most important setup steps.
When mounting propellers:
-
Match the correct motor direction
-
Tighten securely but avoid excessive force
-
Ensure blades rotate freely
-
Check for visible cracks or deformation
Improper installation may cause vibration or unstable flight behavior.
Step 4: Install the Battery Correctly
Battery installation should always be completed carefully.
Checklist:
-
Ensure battery connectors are clean
-
Insert the battery fully into position
-
Confirm secure locking
-
Avoid damaged or swollen batteries
-
Charge fully before first use
For agricultural drones, battery condition directly affects operational efficiency and spray coverage.
Step 5: Connect the Remote Controller
Turn on the controller and drone following the recommended startup order.
Basic process:
-
Power on the remote controller
-
Turn on the drone
-
Wait for system pairing
-
Check communication signals
-
Confirm GPS and system status
If pairing fails, restart both devices and repeat the process.
Step 6: Perform GPS and Sensor Checks
Before first flight, verify all system signals.
Important checks include:
-
GPS signal status
-
Compass calibration
-
IMU or motion sensor calibration
-
Altitude and positioning system response
Avoid flying if signal status appears unstable.
Step 7: Test the Spraying or Spreading System
For agricultural drones, payload systems should also be inspected.
Check:
-
Pump operation
-
Spray nozzle condition
-
Hose connections
-
Tank sealing
-
Spreading mechanism movement
Run a short system test before field operation.
Step 8: Conduct a Low-Altitude Test Flight
Never begin with a full agricultural task immediately.
Instead:
-
Fly at low altitude first
-
Observe balance and stability
-
Test turning response
-
Check spraying accuracy
-
Monitor warning notifications
A short test flight can help identify installation problems early.
Common Beginner Mistakes
New drone operators often make these mistakes:
-
Installing propellers incorrectly
-
Flying without GPS confirmation
-
Ignoring battery condition
-
Skipping calibration
-
Overloading liquid tanks during first use
Avoiding these mistakes improves safety and operating performance.
Maintenance Tips After Installation
After setup and first flight:
-
Clean the drone after use
-
Store batteries in a dry environment
-
Check propellers regularly
-
Inspect connectors and wiring
-
Perform routine calibration
Regular maintenance helps reduce downtime and repair costs.
FAQ
How long does drone installation usually take?
For most agricultural drones, initial installation and inspection typically take 20–40 minutes depending on experience.
Why is GPS important before flying?
GPS helps maintain stable positioning and improves flight accuracy, especially during spraying or mapping operations.
What should I check before the first flight?
Battery level, propellers, GPS signal, calibration status, spraying system, and remote controller connection.
Can I fly immediately after installation?
A short low-altitude test flight is recommended before full operation to ensure everything works correctly.
How often should a drone be inspected?
Basic inspections should be completed before every flight, with deeper maintenance performed regularly depending on usage frequency.
Article Link:
Drone Installation & Quick Start Guide
THE END


No comments yet